

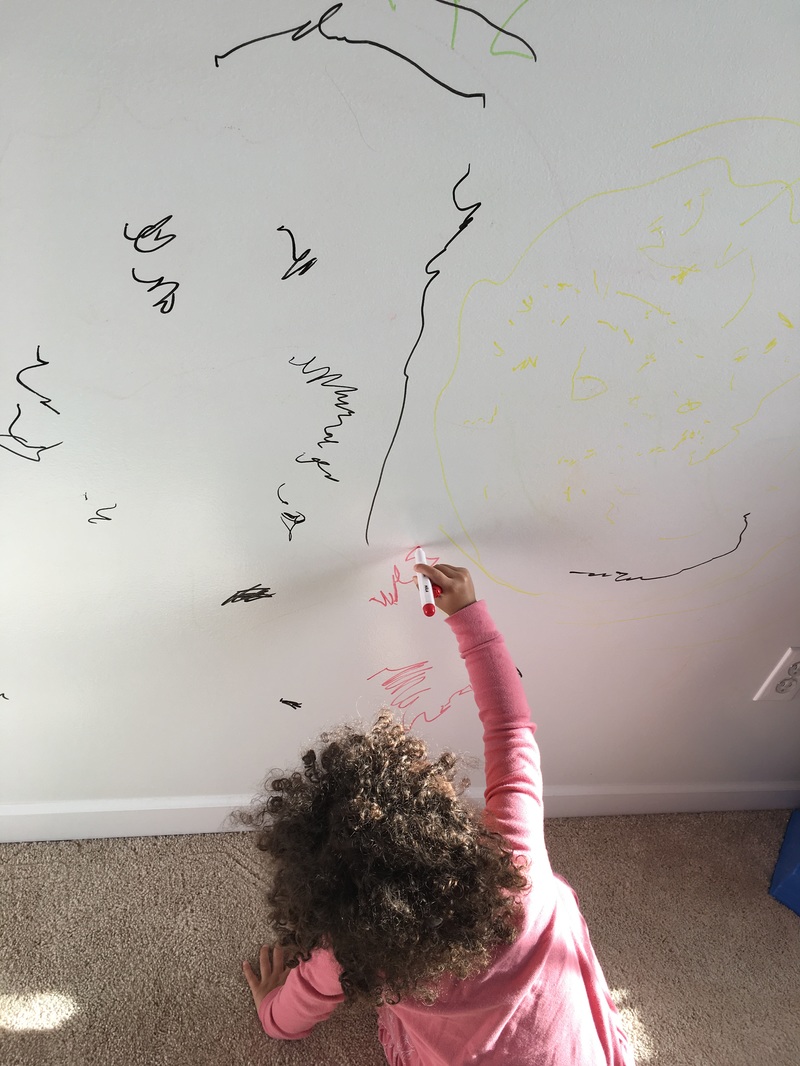
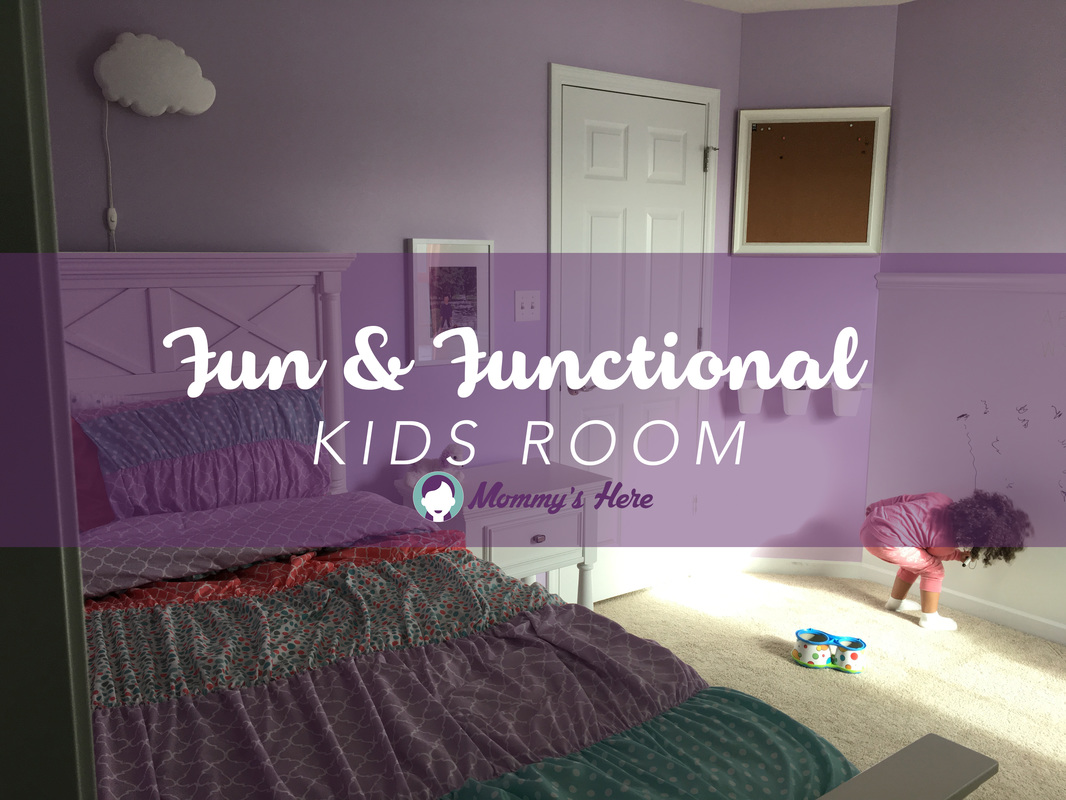
Now that Gianna has her own room we wanted to be sure it was a place where she not only sleeps; but can be creative, learn and have fun! The hubby and I are both not a fan of clutter so we didn't want to go overboard with toys and "things". Since we don't have a basement with extra play or storage space we tried our best to keep her room feeling like a room but also function as a creative learning space. I like the chalk board wall idea but too much chalk can get messy and we have carpet. The alternative idea was a dry erase board. Then I thought, let's make the whole wall a dry erase board! Well, i had to relax a bit and bring it down to half the wall. While my dad was in town he was so kind to share his amazing remodeling skills. After painting her room he added a chair rail to create some separation on the wall. Then we got to painting the dry erase wall!
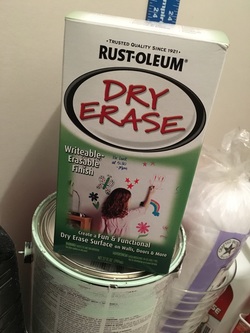
We used Rust-oleum Dry Erase paint. HomeDepot carries it and we only used one box. Because her bedroom walls were new walls with only flat paint, we did not need to primer or sand the walls down. If you do have paint or have some texture on the wall, you will need to sand it down to make a smooth finish. You simply follow the instructions on the box for creating the paint mixture and get to work! We recommend doing 3 coats for best results. You do have to let it sit for 3 days but once that's over you can begin writing on it! Gianna really enjoys drawing on it and it allows a space for me to write and work on letters and numbers with her. The clean up is just as simple as any other dry erase board. I have found that the dry erase cleaning spray works the best. I've tried other things like Windex and nail polish remover. DO NOT USE NAIL POLISH REMOVER. I ruined a section of the wall and had to repaint it. Lesson learned! It will get some staining form the dry erase markers like any other dry erase board so you'll have to be OK with that. I am a little OCD and keep trying to clean it. I have learned to let it go and leave it be. You can always put another coat over it as time goes on if it gets too stained. So save the extra paint for the future touch up.
TIP: If you use a magnetic primer before adding the dry erase paint. Your dry erase board can function as both a magnet board and dry erase board. Won't that be fun! Allowing you to use magnets to hang art work, learning sheets, images, etc.
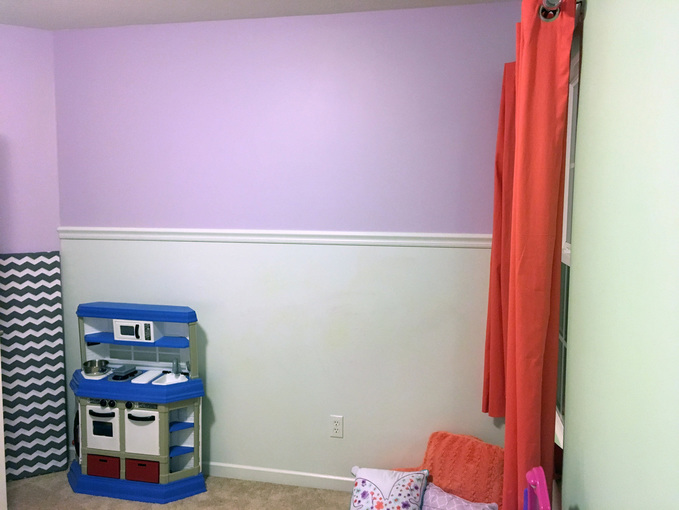
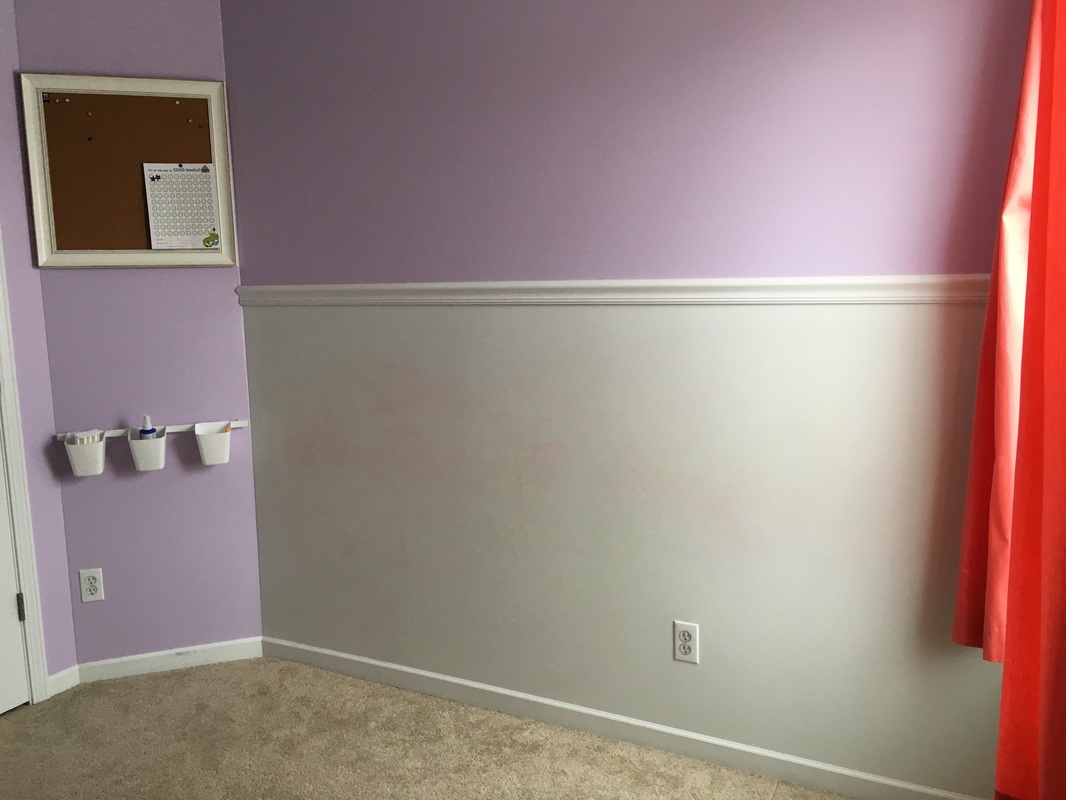
This is the end result after the paint dried.
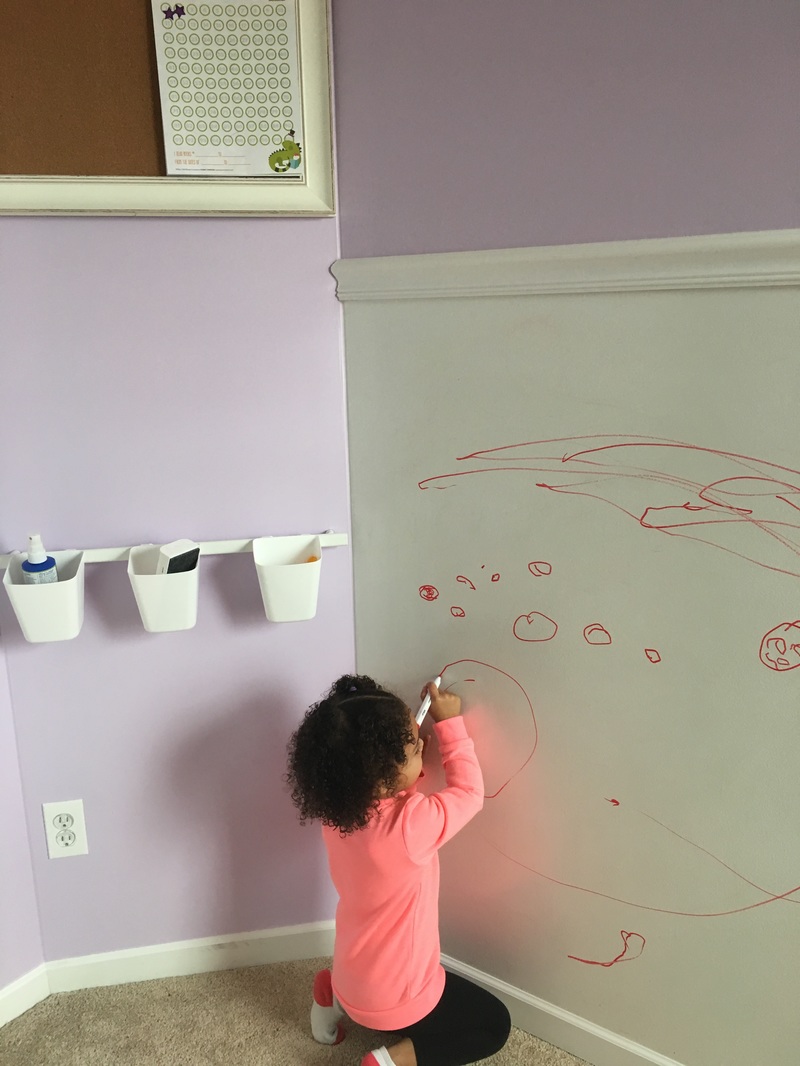
We added a simple cork board to hang some of her work as well as a very inexpensive rail with buckets to store her dry erase markers, eraser and spray on the wall. We puchased this at IKEA. The rail and 3 buckets were under $5.
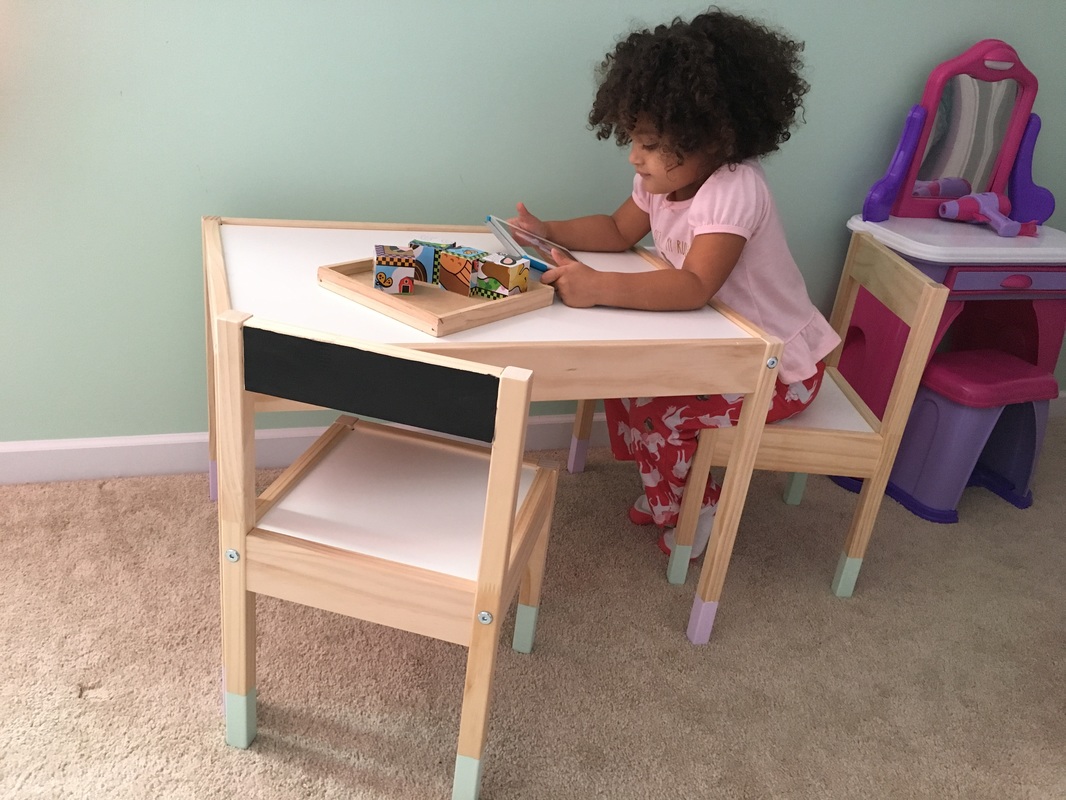
Adding a table makes for fun and function. Shoutout to her Mima for gifting her the table. We are able to color here, play games, learn, etc. This table can be found at IKEA as well . We added a little pizzazz to it. You can find my IKEA Kids Table Hack blog post on how we did that here.
I thought it would be fun to add some custome artwork to the room. Luckily, I have some very talented friends like Amelia Noyes who creates some really cool illustrations. I commissioned her to create a special image of our girl with our dog. We know our poor boy doesn't have many years left with us. I thought it would be special to have a memory of her times with him forever. I love how it turned out!


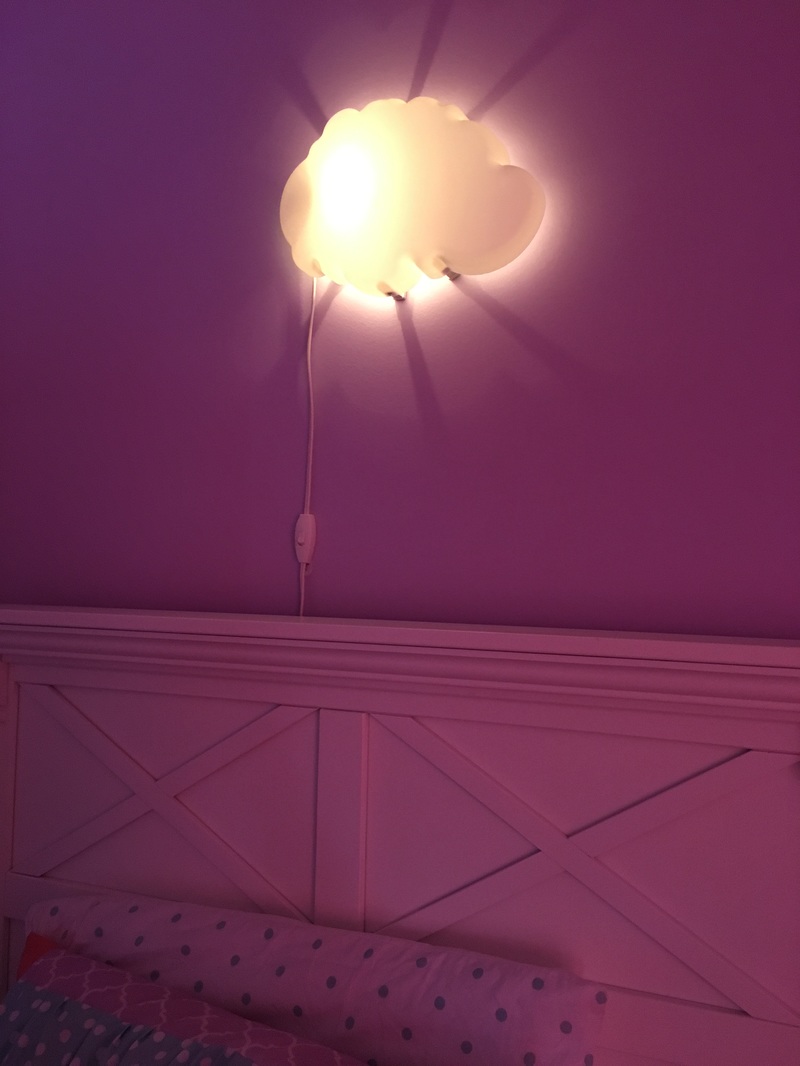
Lastly, it never hurts to add a little lighting that is fun and warm for the little one.
Overall, she seems to love and enjoy her room. We are still sorting through ideas for her closet and the accent wall. I hope to continue to blog about decor ideas that keep you within budget and make your lives easier. I am fine with decorating but I am always looking for the best deals and things that don't require a lot of time to do because mommies ain't got time for all of that! I hope you enjoyed this post!
 RSS Feed
